The first steps for a designer
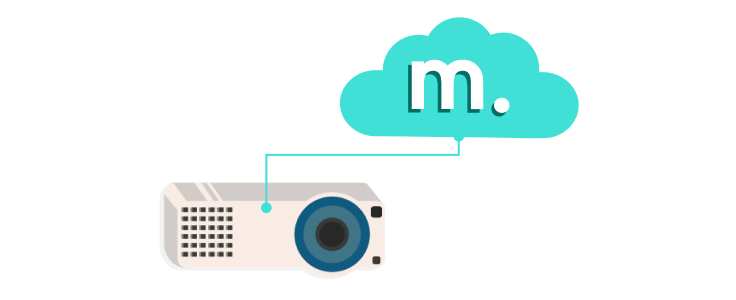
Motioncube software
Motioncube is an advanced software for the interactive projection. It also enables the creation of interactive content tailored to the needs and requirements of users.
Motioncube Player
It allows you to configure the projection device to work in the selected setup and provides the interaction with applications (games).
Basic functions:
- interactive projection creator,
- camera autocalibration (for IR-KIT)
- camera calibration wizard (for manual calibration)
- built-in app store with games and templates,
- interaction with apps through motion or IR pens,
- dividing one projection area into several workspaces,
- Menu control from a mobile device (via a mobile app).
Interactive applications
Motioncube allows you to interact with the app in several ways. Each application is assigned one way of interaction (interactive play).
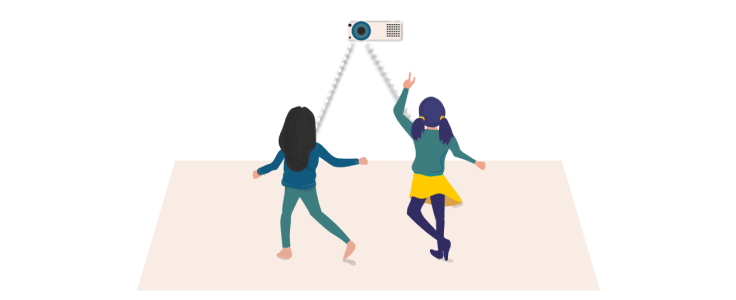
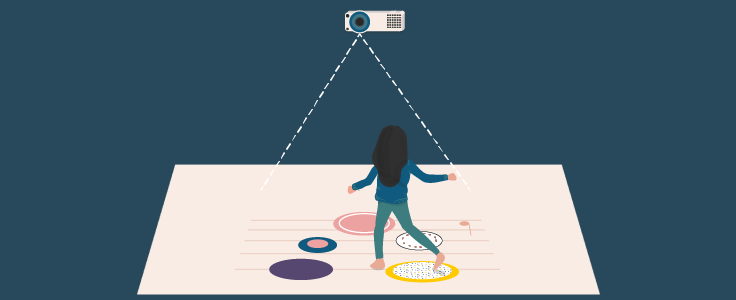
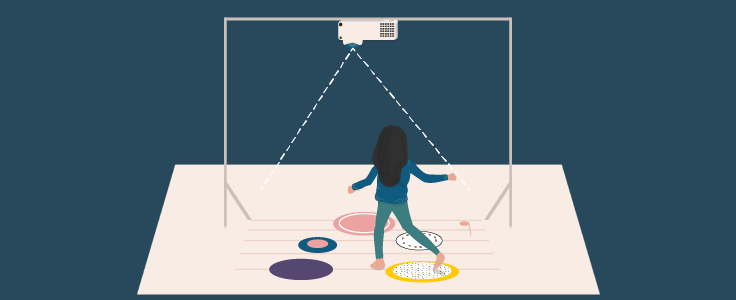
Responsive to Movement
A moving person and (we add it only to simplify the explanation to users) its moving shadow triggers a reaction on the projected surface. However, the shadow itself does not interact with the app, only the shadow owner interacts, even if it looks like that.
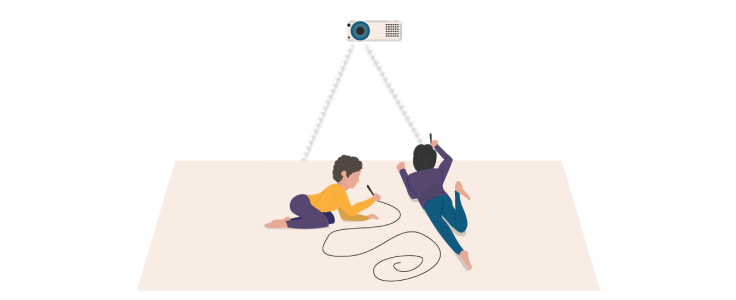
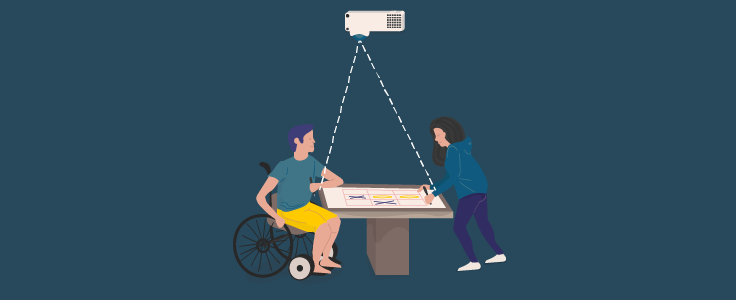
Infrared Pen Supported
Projected surface reacts to the IR light from pens. This way of interaction is characterized by a great precision. It is possible to draw pictures, write letters, and play games requiring exact precision (Mobi, wordsearch, board games etc.). You can use several IR pens on the same surface and also divide the surface for several games (we call it workspaces in Player).
With the use of remotely controlled vehicles
The application reacts to the movement of a vehicle controlled by the user with t a remote control or a dedicated mobile application. There are special game boards designed for a moving vehicle.
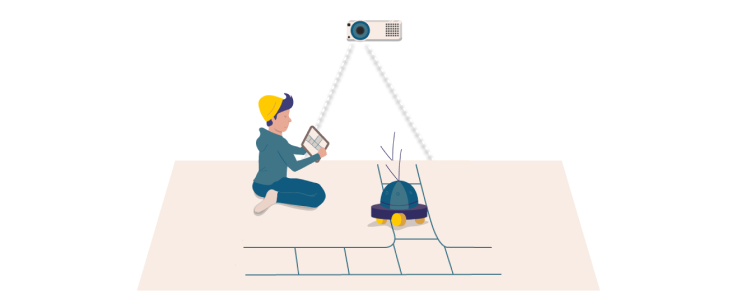
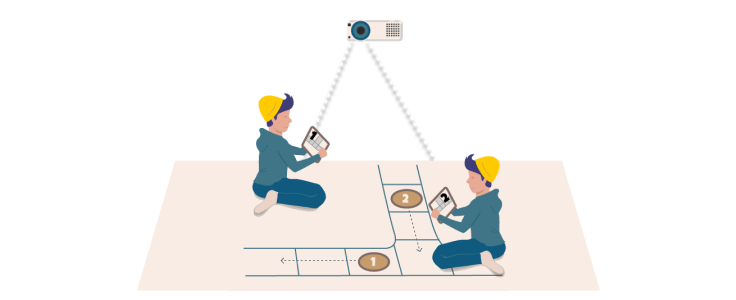
Operated from mobile devices
Users arrange their commands on tablets and send them to the app visible on the interactive surface (a floor, table, or wall).
Hardware requirements
Check what you need to setup the interactive projection with Motioncube.
Projector
Refer to the Motioncube for Device Creators guide to select the optimal projector for your application.
Camera
Learn more about Motioncube IR Kit, providing all the ways to interact with applications on an interactive floor. When using other cameras read our guide for the camera selection.
Software
Install the free Motioncube Player and configure it for the selected projection setup. The software provides access to the application store and Motioncube templates to create interactive applications yourself.
All products in the store are free to try. When purchasing the application for the first time, the cost of the interactive module providing a given type of interaction will be added.
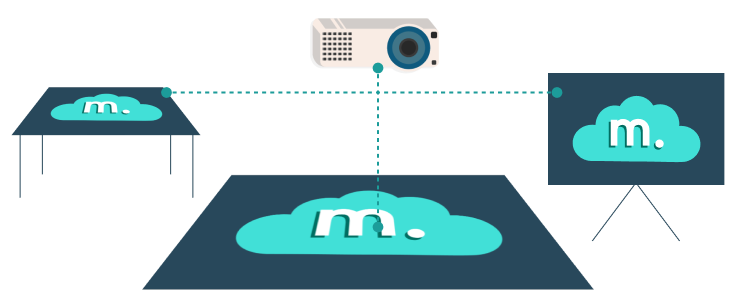
Device installation methods
Select the location and mounting method for the interactive projection device according to your needs. When using applications supported by IR pens, front-side projection is recommended. For motion-controlled applications, both top-central and front-side projection will work.
On the wall/ceiling
The elements are mounted on the wall at a height of approx. 2m (example projector throw ratio: 0.5-0.6, infrared camera) Various variants of equipment installation: semi-open and closed.
On the tripod
The projector and camera are mounted on a tripod at a height of approx. 2m (example projector throw ratio: 0.5-0.6, infrared camera). You can use a rollup to cover the tripod.

On the table
Variant for ceiling installation. Projection onto the tabletop instead of onto the floor (example projector throw ratio: 1.0, infrared camera). Hand interaction and IR pen interaction with apps is recommended.
On the frame
Prepare the installation kit yourself or use the lighting ramp to mount the projector and camera (example projector throw ratio: 1.0, infrared camera).
Help for device designers in the Working environment section.
Ways to operate the Player's interface
Check what you need to operate the Motioncube Player Menu on the projected surface.
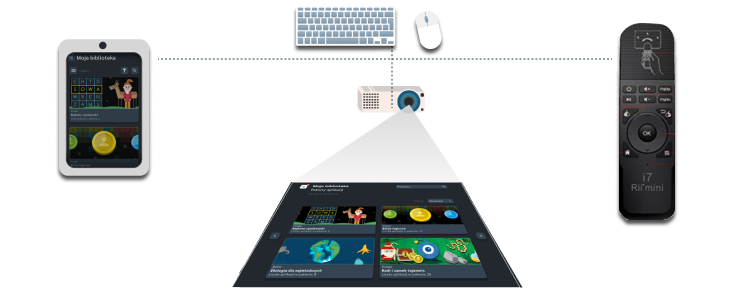
Remote control
You can control the Menu and launch games using the remote control connected to the projection device.
Mobile App
You can control the Menu and run games using the Motioncube Mobile Control app from Google Play on your smartphone or tablet.
Keyboard and Mouse
You can control the device and run games with a mouse and keyboard connected to the projection device.
Camera calibration
Run the automatic camera calibration (when using Motioncube IR-KIT) or manual calibration wizard after a device is mounted, relocated, or has interaction issues.
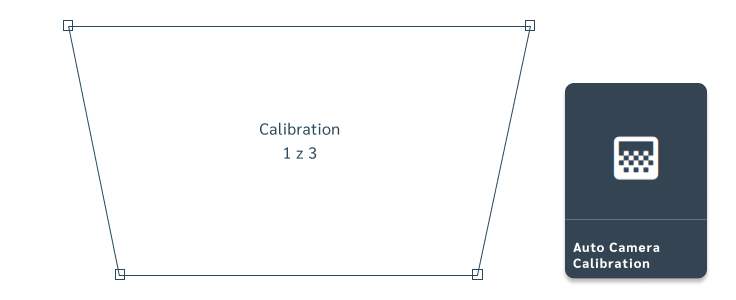
In Motioncube Player, go to the tab: Settings > Advanced > Auto camera calibration (when using Motioncube IR Kit) OR
go to the tab: Settings > Advanced > Interactive projection wizard (when using Motioncube IR Kit or other camera) OR
go to the tab: Settings > Advanced > Camera (when using other camera).
- Follow the instructions that appear.
- Restart the interactive app and check its reaction to movement.
If you notice an app issues like incorrect reaction to the movement of a person, moving robot or IR-pen light, perform the camera calibration and ensure proper lighting conditions in the room.
Motioncube Player interface modes
By default, Motioncube Player starts in a Playing interface mode. To change the user's interface mode, go to the tab: Settings > Advanced > Designer view.
Designing
Interface mode description: In designing mode, you have access to the Motioncube templates that allows you to design your interactive apps and share them with other users. The interface is in an advanced view.
Playing
Interface mode description: Playing mode shows only the necessary options needed to operate the device, purchase and play games. The interface is in a simplified view. You can comfortably operate the Menu with a remote control or mobile control.
Views of the Motioncube Player interface
Advanced
Interface: optimized for mouse and keyboard
Size of items: depends on screen resolution
Menu view: side view, always visible
Keyboard shortcuts: You can enable certain features and settings with keyboard shortcuts. To view available shortcuts, press CTRL + H.
Simplified
Interface: adapted to remote control, mobile application and IR pen
Elements size: specified and independent of resolution
Menu view: in the corner, collapsed
Keyboard shortcuts: not available
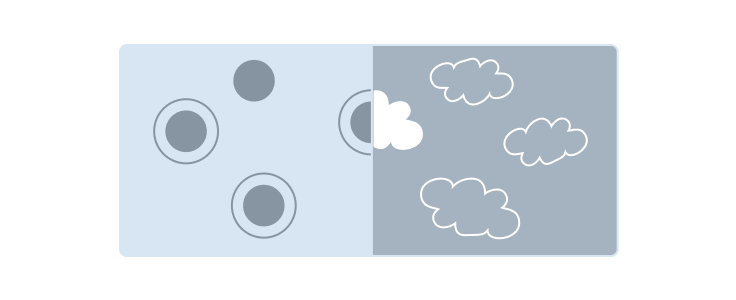
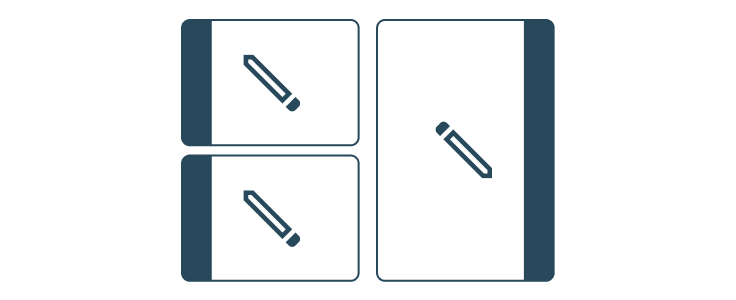
Multiplication of the interaction area
Within a single projection, you can divide the interaction area into several workspaces and run different app in each workspace, supported by IR pen. Select Workspaces in the Applications or App collections view.
NUMBER OF INTERACTION AREAS

Divide the projection area into several smaller workspaces. The number of available workspaces depends on the resolution of the projector.
APP DISPLAY LAYOUT
Select a display layout of workspaces. The layout on the sides will work well in case of projection on a table or more users.
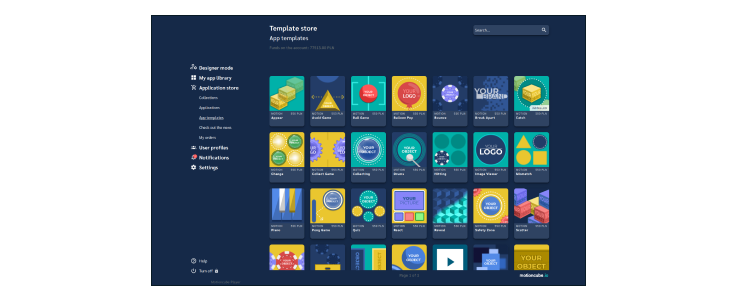
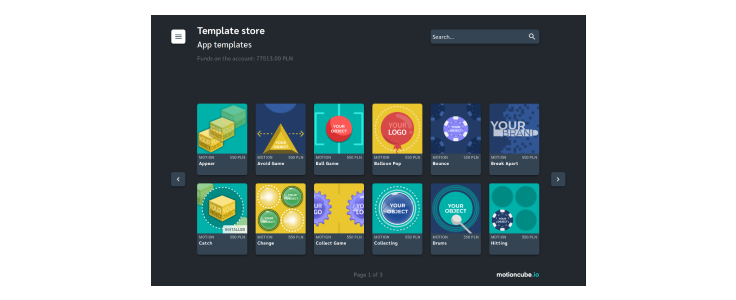
App and template store
Motioncube Player has a built-in store with interactive apps and game templates.
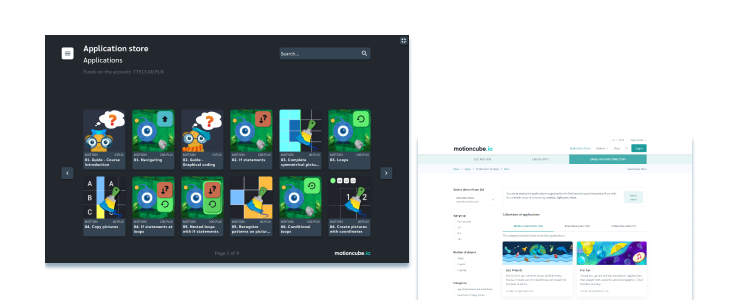
In the Motioncube Store you will find dozens of interactive application templates and hundreds of games and educational applications for various age groups.
You can try app and template demos for free in the Player and download free apps.
You can make a purchase directly from the device as well as in the online store store.motioncube.io.
To run a demo or download free games or make a purchase, you must log in to the store with your Motioncube account. Purchases in the store are made for customers with a tax identification number.
View the Motioncube interactive apps:
store.motioncube.io/en/applications/interactive-projection
App making
The Player enables you to make games and apps yourself based on the Motioncube templates. You will insert your graphics, texts, sounds and app icon.
Switch to the designing mode. Go to the App Store > App Templates
You may check how each template works.
The demo versions of the templates contain all the configuration options and the game preview mode but without the ability to save the application. You may configure app with your graphics and sounds, and run a game mode to see your app look and behaviour.
Buy the selected template in a built-in store or online. Launch it and start editing. Save your application. You will also find your new application in My Library > My Applications, and you can also edit it from there.
Application template editor
Insert your content and create an interactive app in a few minutes! Open your template and follow 3 basic steps.
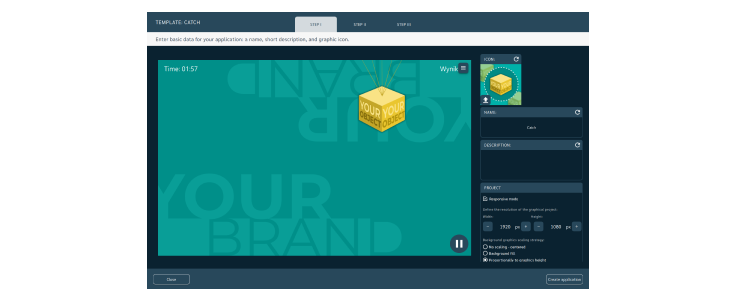
STEP I
Provide the basic data in your application: name, short description and graphic icon. Save the application to the desired location.
STEP II
Start editing the created application. Please give it a new look by placing your backgrounds, graphic objects, selecting and adjusting effects, and adding sounds.
STEP III
Enable selected additional screens in your application. You can change the appearance of each of them according to your needs.
In the Editor, you can preview changes to the application in real-time and launch fullscreen game mode to assess your app.
