Interactive Projection Setup
Your first interactive floor
Let's create your first motion-interactive playground in under 30 minutes! This guide will walk you through the basics - from setup to running your first interactive application on the floor.
Our goal is to achieve a similar result to what you see in the video below.
Interactive floor demo
Watch directly on YouTubeWhat you'll do
- Connect your equipment (5 min)
- Install Motioncube Player (5 min)
- Set up your camera (5 min)
- Download a free interactive app (5 min)
- Calibrate the floor area (5 min)
- Play and test! (5 min)
What you need
- Computer - Windows 10 or later
- Camera - Any webcam (for testing without projector), depth camera (like Orbbec Astra 2), or infrared camera
- Projector - Optional for the first test (you can test on your computer screen)
- Internet connection - To download software and apps
Step 1: Connect your equipment
- Connect the camera to your computer via USB.
- Position the projector to display an image on the floor (or skip this step if testing on screen first).
- Place the camera so it can see the floor area where the projector displays the image.
Step 2: Install Motioncube Player
- Download Motioncube Player - select the Beam version (download page).
- Run the installer and complete the installation.
- Launch Motioncube from the Windows Start Menu.
- Select your language and accept the license.
- Choose:
Projection device→Interactive Floor→Motion interaction.
You can skip logging in for now.
Step 3: Set up your camera
- Go to
Menu > Settings > Advanced. CheckService mode. Find and openFrame Source Settingstile. - In the Select device dropdown, choose your camera from the list.
- Wait a moment - you should see a camera preview appear.
- Wave your hand in front of the camera to see if it's working.
Step 4: Get the 3D Fish app
Now let's get a free interactive application to test on your floor!
- Visit motioncube.io and create a free account.
- Restart Motioncube Player and log in.
- Click
Menu > Application store > Applications. - Search for "Motioncube 3D Fish" and install it (it's free).
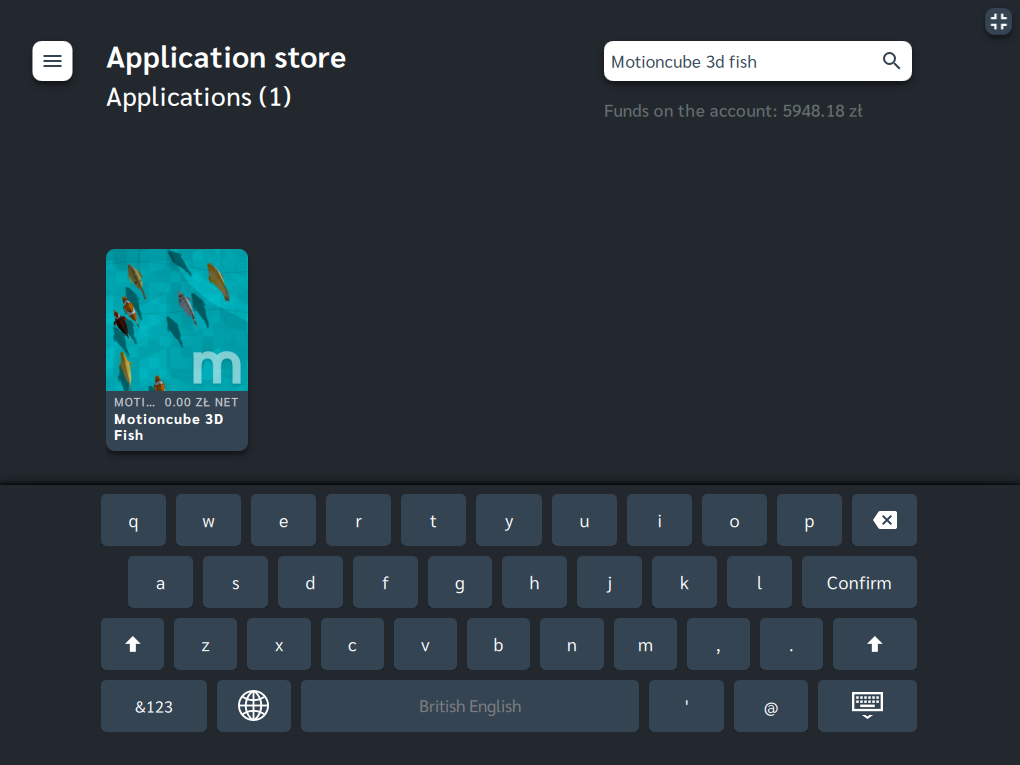
- Launch the application from
Menu > My app library > Applications.
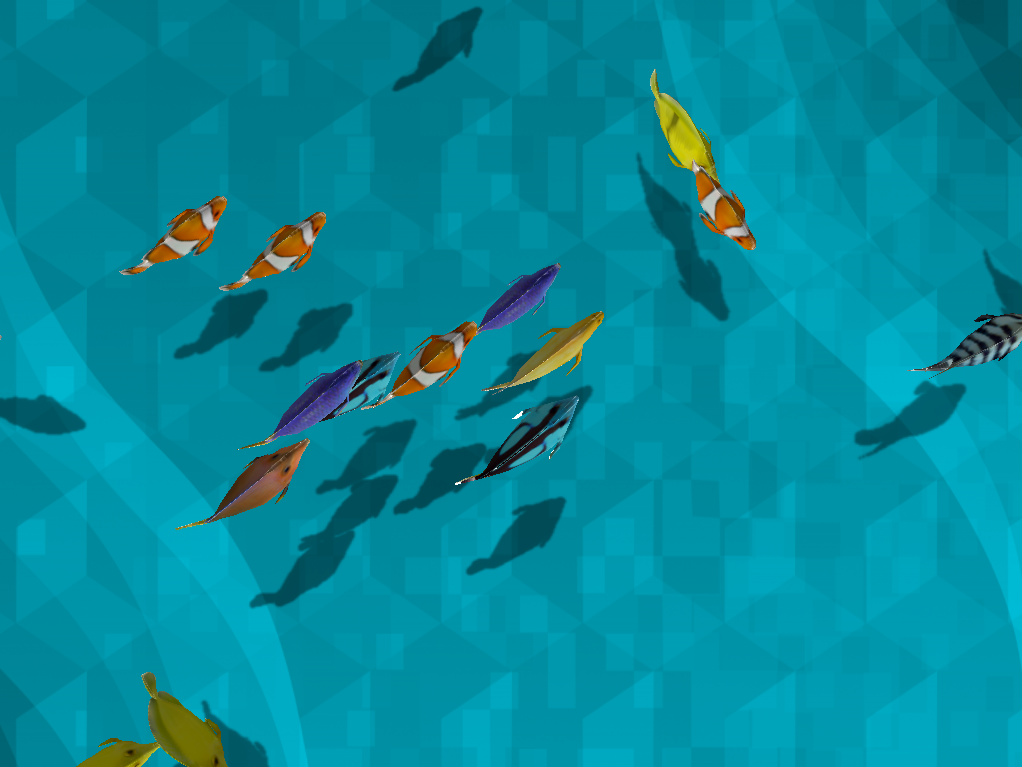
You should see fish swimming peacefully:
Step 5: Calibrate the interactive area
If you're using a projector, you need to tell Motioncube where the projected image is:
- Go to
Menu > Settings > Advanced. CheckService mode. Find and openInteractive Projection Settingstile. - Look for the Projection area section.
- You'll see yellow corner markers on the preview. Drag them to match the corners of your projected image on the floor.
Now move on the floor - the water should react to your movement!

Step 6: Test and enjoy!
Your interactive floor is ready! Move around and watch the fish react to your presence.
Interactive floor in action
Watch directly on YouTubeWhat's next?
- Explore more apps - Browse the Motioncube Store for games, educational content, and more.
- Create your own - Try building your own interactive content using templates.
- Improve your setup - Want a permanent installation? Check out the Building a motion-interactive floor guide for professional tips.
Need help?
Having trouble? Contact us and we'll help you get started!
Manage Consents
Control which external services can process your data.
Essential Required
These features are essential for the proper functioning of the website and cannot be disabled.
Anonymous Analytics Required
Required for collecting aggregated statistics that help us understand how users interact with our site. Data is fully anonymous, contains no personal information, and we do not use cookies.
Extended Analytics
Allows analyzing traffic sources (where you came from), marketing campaign parameters (UTM), and navigation paths across subdomains. We use a cookie (7 days) to preserve this data.
External Media
Allows loading content from external services like YouTube or Vimeo.
